How to Add Custom Logo to WordPress Website ?
Published: 2026-02-07
Logos are the brand identity that represents the whole brand or company. Adding a custom logo to your WordPress website can make a big difference in how your site looks and feels. A custom logo helps to brand your website and make it stand out. Many website owners want to know how to add a custom logo to their WordPress website because it's a simple way to personalize their site. WordPress comes with the default logo or name branding of the theme which we have installed on our WordPress website. This article will guide you through the steps needed to easily create and add a custom logo to your WordPress site.
Tools to Create a New Logo
Creating a new logo for your WordPress website can be simple with the right tools. There are many online logo makers and graphic design software available that can help you design a unique and professional logo. In this section, we'll explore some of the best tools to create a new logo that fits your brand perfectly.
- Canva: Canva is a user-friendly graphic design tool that offers a wide range of templates and design elements. You can easily create a custom logo using their drag-and-drop interface, and then add the logo to your website.
- Adobe Spark: Adobe Spark is another great tool for creating logos. It offers customizable templates and a variety of fonts and icons to help you design a logo that stands out.
- LogoMaker: LogoMaker provides a simple and intuitive platform for creating logos. With hundreds of templates and design options, you can quickly create a logo that represents your brand.
- Tailor Brands: Tailor Brands uses AI to help you design a logo. Just enter your business name and preferences, and it will generate a custom logo for you.
These tools provide an excellent starting point for designing a custom logo that you can then add to your website. With a little creativity and these helpful resources, you can create a logo that enhances your site's appearance and strengthens your brand identity.
How to Add a Logo To a WordPress Website
Here are the following steps to add the custom logo to your WordPress website step by step :
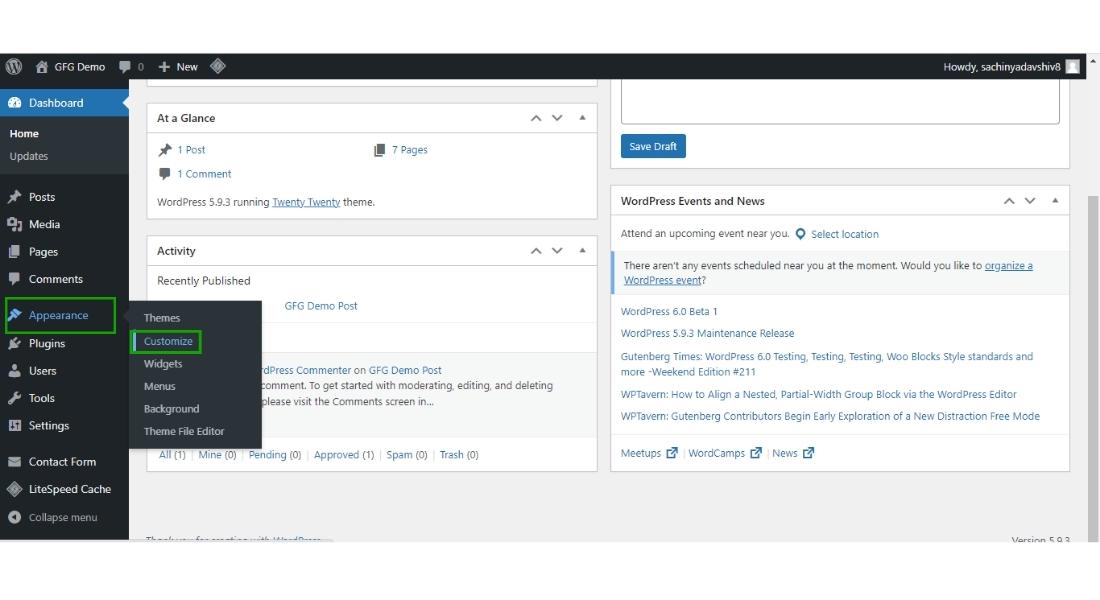
Step 1: Hover over the "Appearance" tab and then click on the "Customize" button.
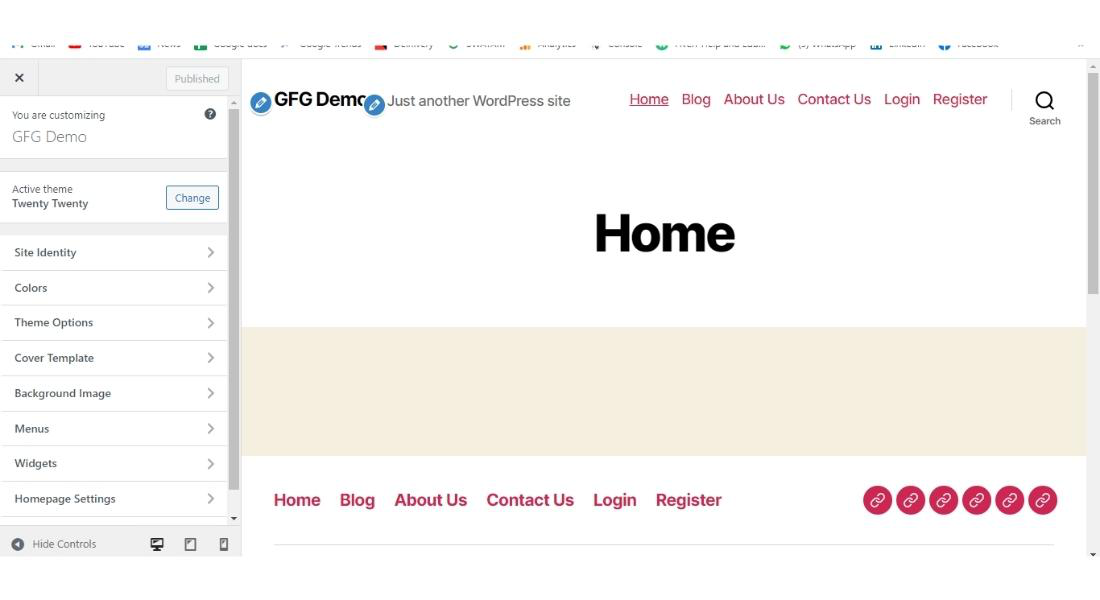
Step 2: Now you are entered into the customization section of the WordPress website.
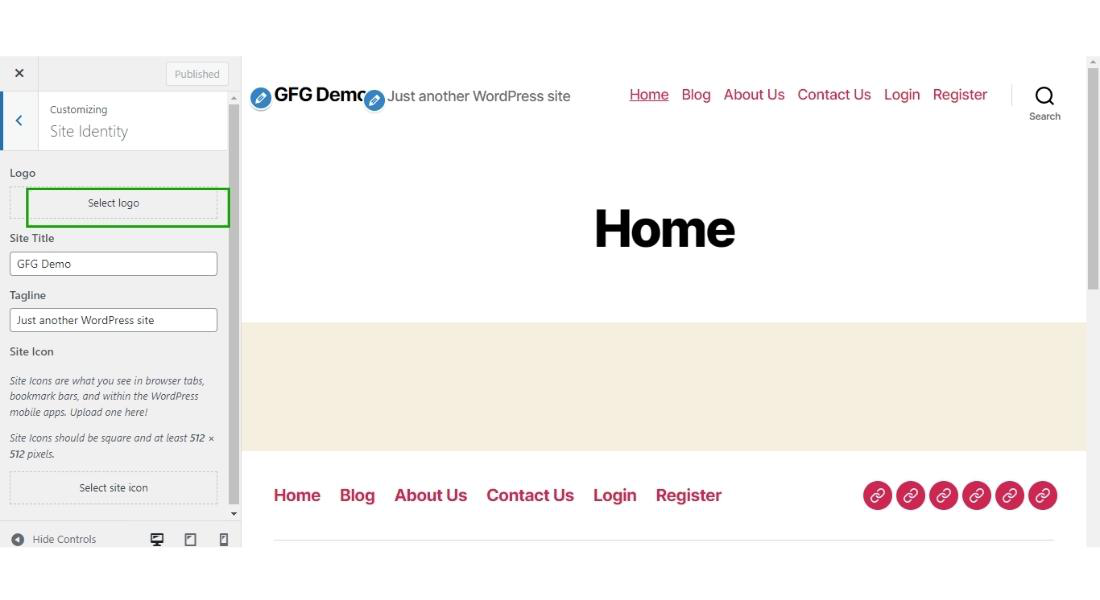
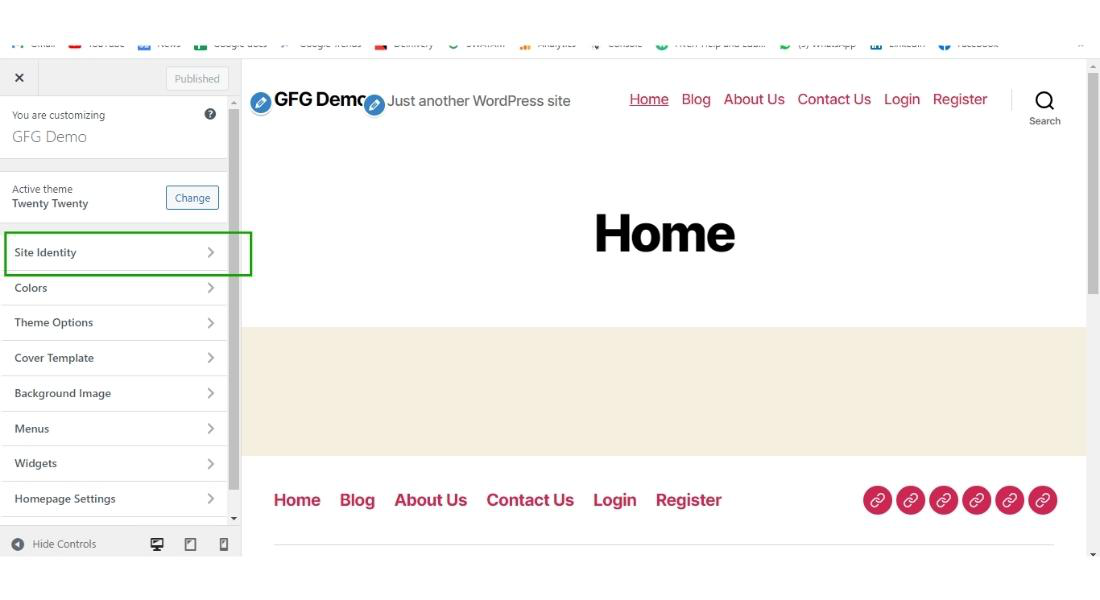
Step 3: In the customization panel there is a tab called "Site Identity" click on the tab.
Now the site identity tab will open and appear on your screen.
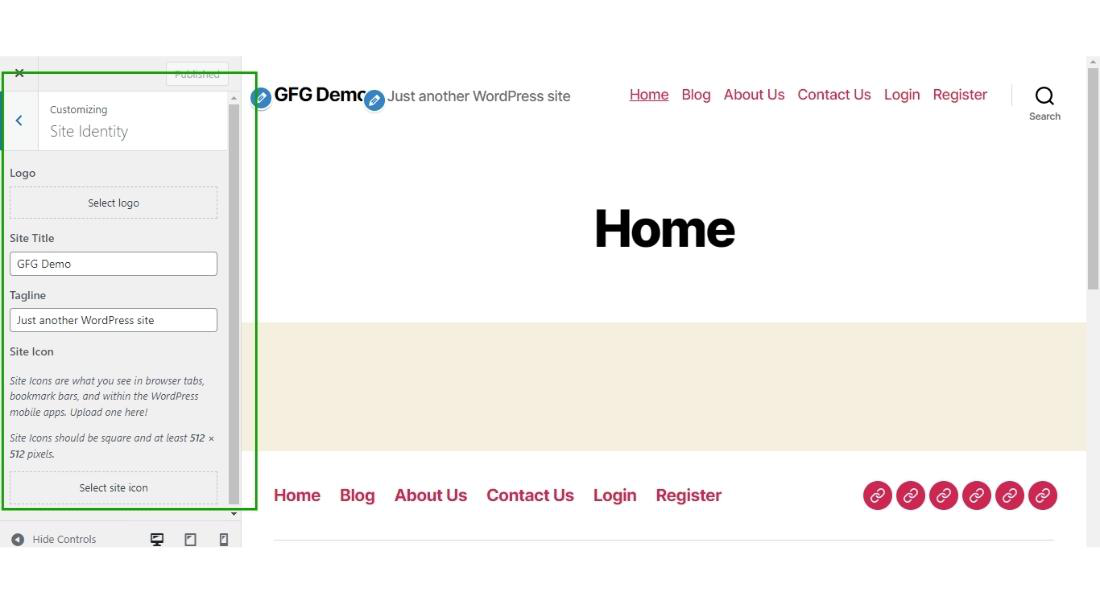
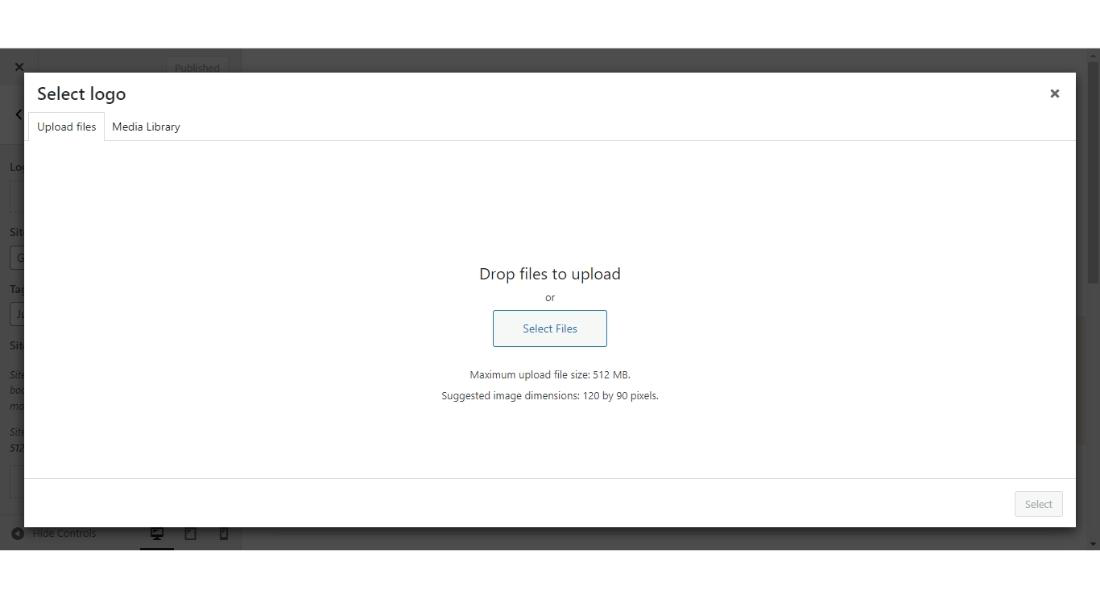
Step 4: Now in the site identity tab you can upload your custom logo, you can also change the "Site Title" and also the site tagline. For changing the logo click on the "Select Logo" button.
After clicking on the "Select Logo" button, the pop-up window will appear on the screen for selecting the logo from the computer.
Step 5: Select the logo from your computer which you want to upload to your site.
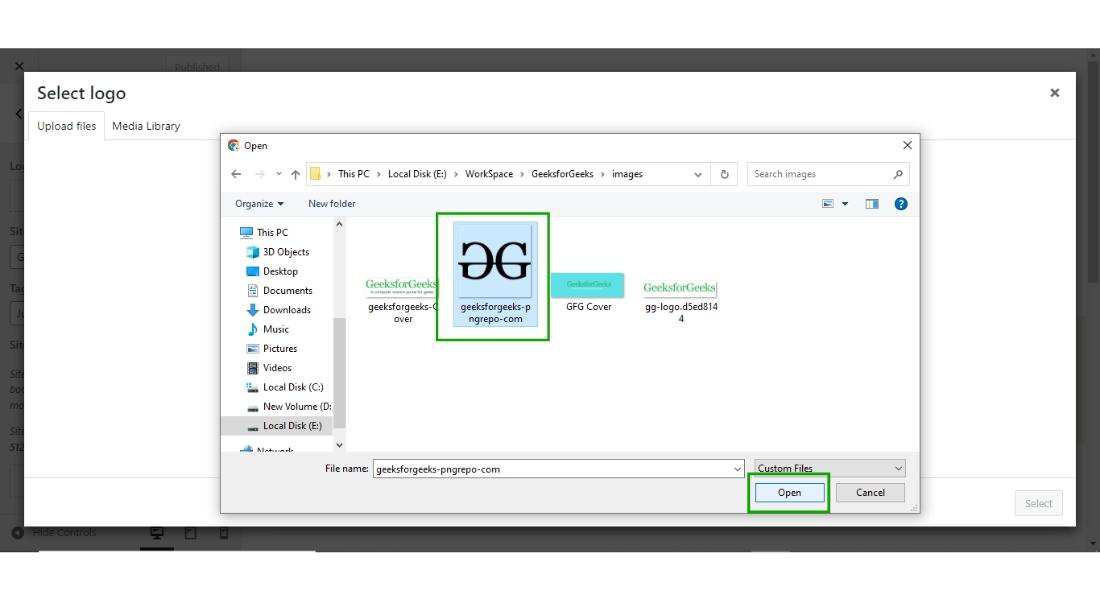
After selecting the logo from your computer, click on the "Open" button.
Step 6: After clicking on the "Open" button, the media library dialogue box will appear on the screen, select the logo which you have uploaded from the media library.

After selecting the image click on the "Select" button.
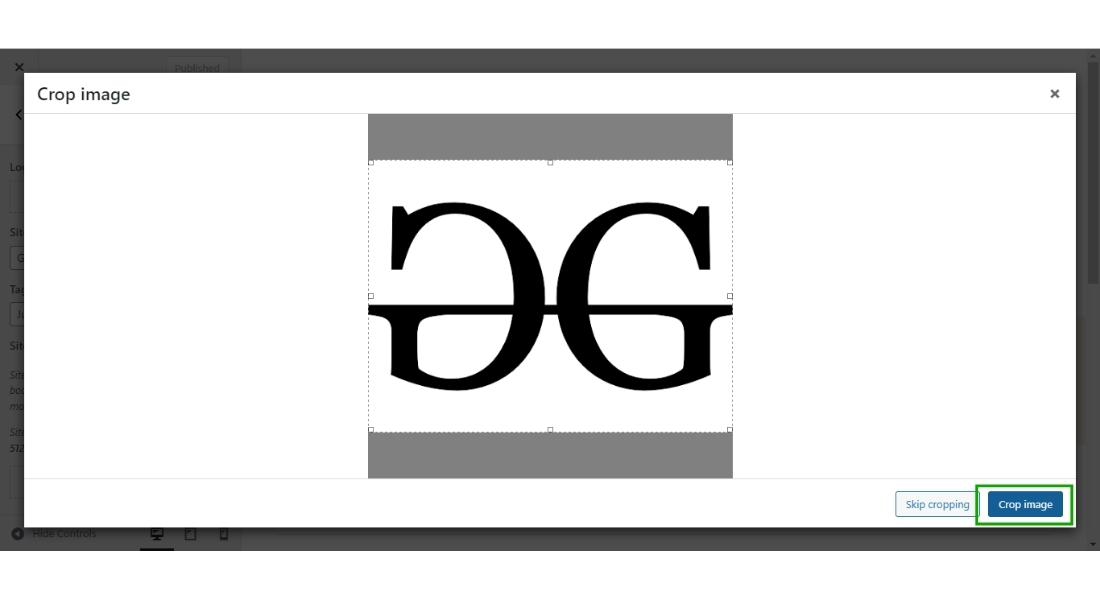
Step 7: Then crop the logo as per your need, and then click on the "Crop Image" button.
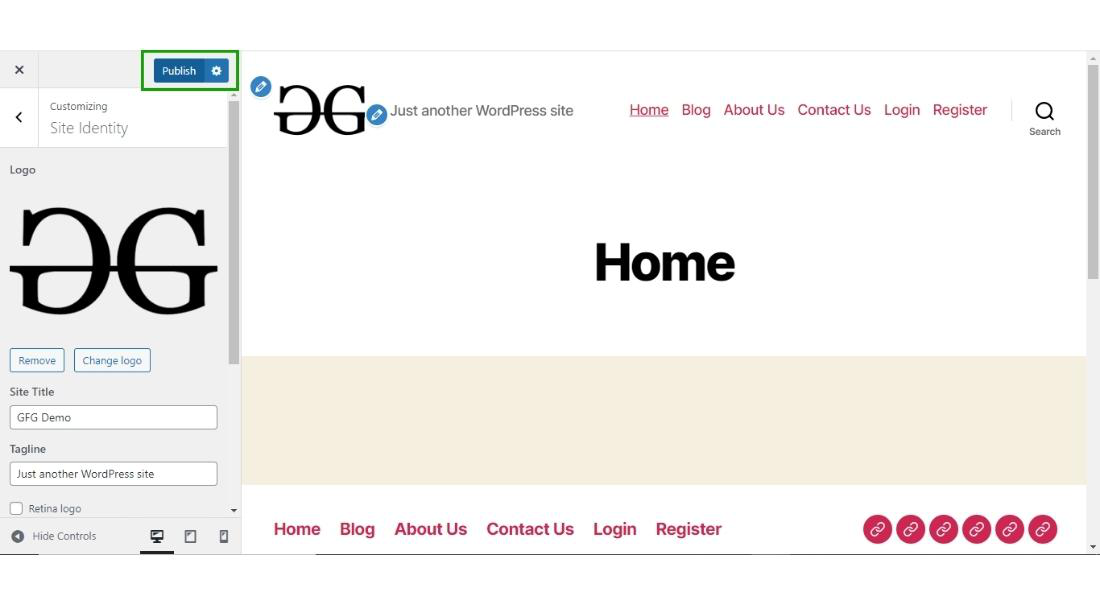
Step 8: Now one last step, you have to just click on the "Publish" button to make it published on your WordPress website.
Finally, your logo is uploaded to your WordPress website.

This is how you can upload any custom logo to your WordPress website.
Conclusion
Adding a custom logo to your WordPress website is an easy way to make your site look more professional and unique. By following the steps in this guide, you can quickly and easily upload and customize your logo. Remember, a custom logo not only helps with branding your website but also creates a memorable impression for your visitors. Start enhancing your website today by adding a custom logo and make your site truly stand out.